Przejdź do polskiej wersji tego wpisu / Go to polish version of this post
Would you believe it if I told you that you can have a fully functional computer in your web browser? Always with you, all you need is any device with internet access, and most interestingly – for free. Sounds unlikely, doesn’t it? However, it is possible, and in this post, I will describe how you can easily get yourself such a toy!
1. Free VPS from Oracle
The first step is to obtain a fully free virtual machine (VPS) from Oracle. I have described the entire process step by step with images in this post. I will just remind you that this machine has the following parameters:
- 4x OCPU (Ampere A1 processor in ARM architecture) – equivalent to a 4-core processor
- 24GB RAM
- 200GB data storage (disk)
As you can see, these are parameters corresponding to a quite decent computer. I think many people have laptops with much worse specifications.
2. Installing a Graphical User Interface
A VPS created in this way comes with only a text-based interface as standard. While this is normal and even recommended for server purposes, it’s an undesirable situation for us because we want a regular computer. On my VPS from Oracle, I preinstalled Ubuntu 22.04 (the operating system is selected during the creation of the instance) and opted for the XFCE interface, which I like for its simplicity and its greatest advantage, which is its lightweight nature, meaning it doesn’t consume a lot of hardware resources. I’ll demonstrate the installation for this specific configuration, but everyone can choose something different based on their preferences, and the process will be similar.
Let’s start by connecting to the server using SSH. I have described this process in the following posts:
- Free VPS with 4 OCPU, 24GB RAM, and 200GB Disk
- Home Server – basic configuration
The first thing we need to do after gaining access is to switch to the root user:
sudo suand change passwords for the root and ubuntu users, or rather, set them because by default, both of these users do not have passwords.
passwd [enter the root password twice] passwd ubuntu [enter the password for the ubuntu user twice]Then, we install the tasksel package, which is used for installing ready-made packages, including graphical interfaces, among others.
apt install tasksel -yNow it is recommended to update all packages on the server. I recommend using my ready-made script for this, which I wrote about in this post. However, if you don’t want to bother with any automation scripts, you can simply execute these basic commands:
apt update apt upgrade -yThis may take a while, so it’s better to be patient. Once the update process is complete, we can move on to the main part, which is installing a graphical interface, also known as a desktop environment. As I mentioned earlier, I use Ubuntu, and my choice is XFCE, so I will install the package called xubuntu-desktop. Other options here could be environments like GNOME or KDE.
apt install xubuntu-desktop -yAgain, you need to be prepared to wait for a while, but this time, you cannot completely leave your workstation because there will be interaction required during installation. The installer will ask us to choose a Display Manager, which is a program responsible for managing the login interface. I always choose lightdm, which should be the second option in the list under gdm3. From now until the end of the installation, there should be no need to do anything, so you can go ahead and make yourself some coffee.
3. Remote Desktop
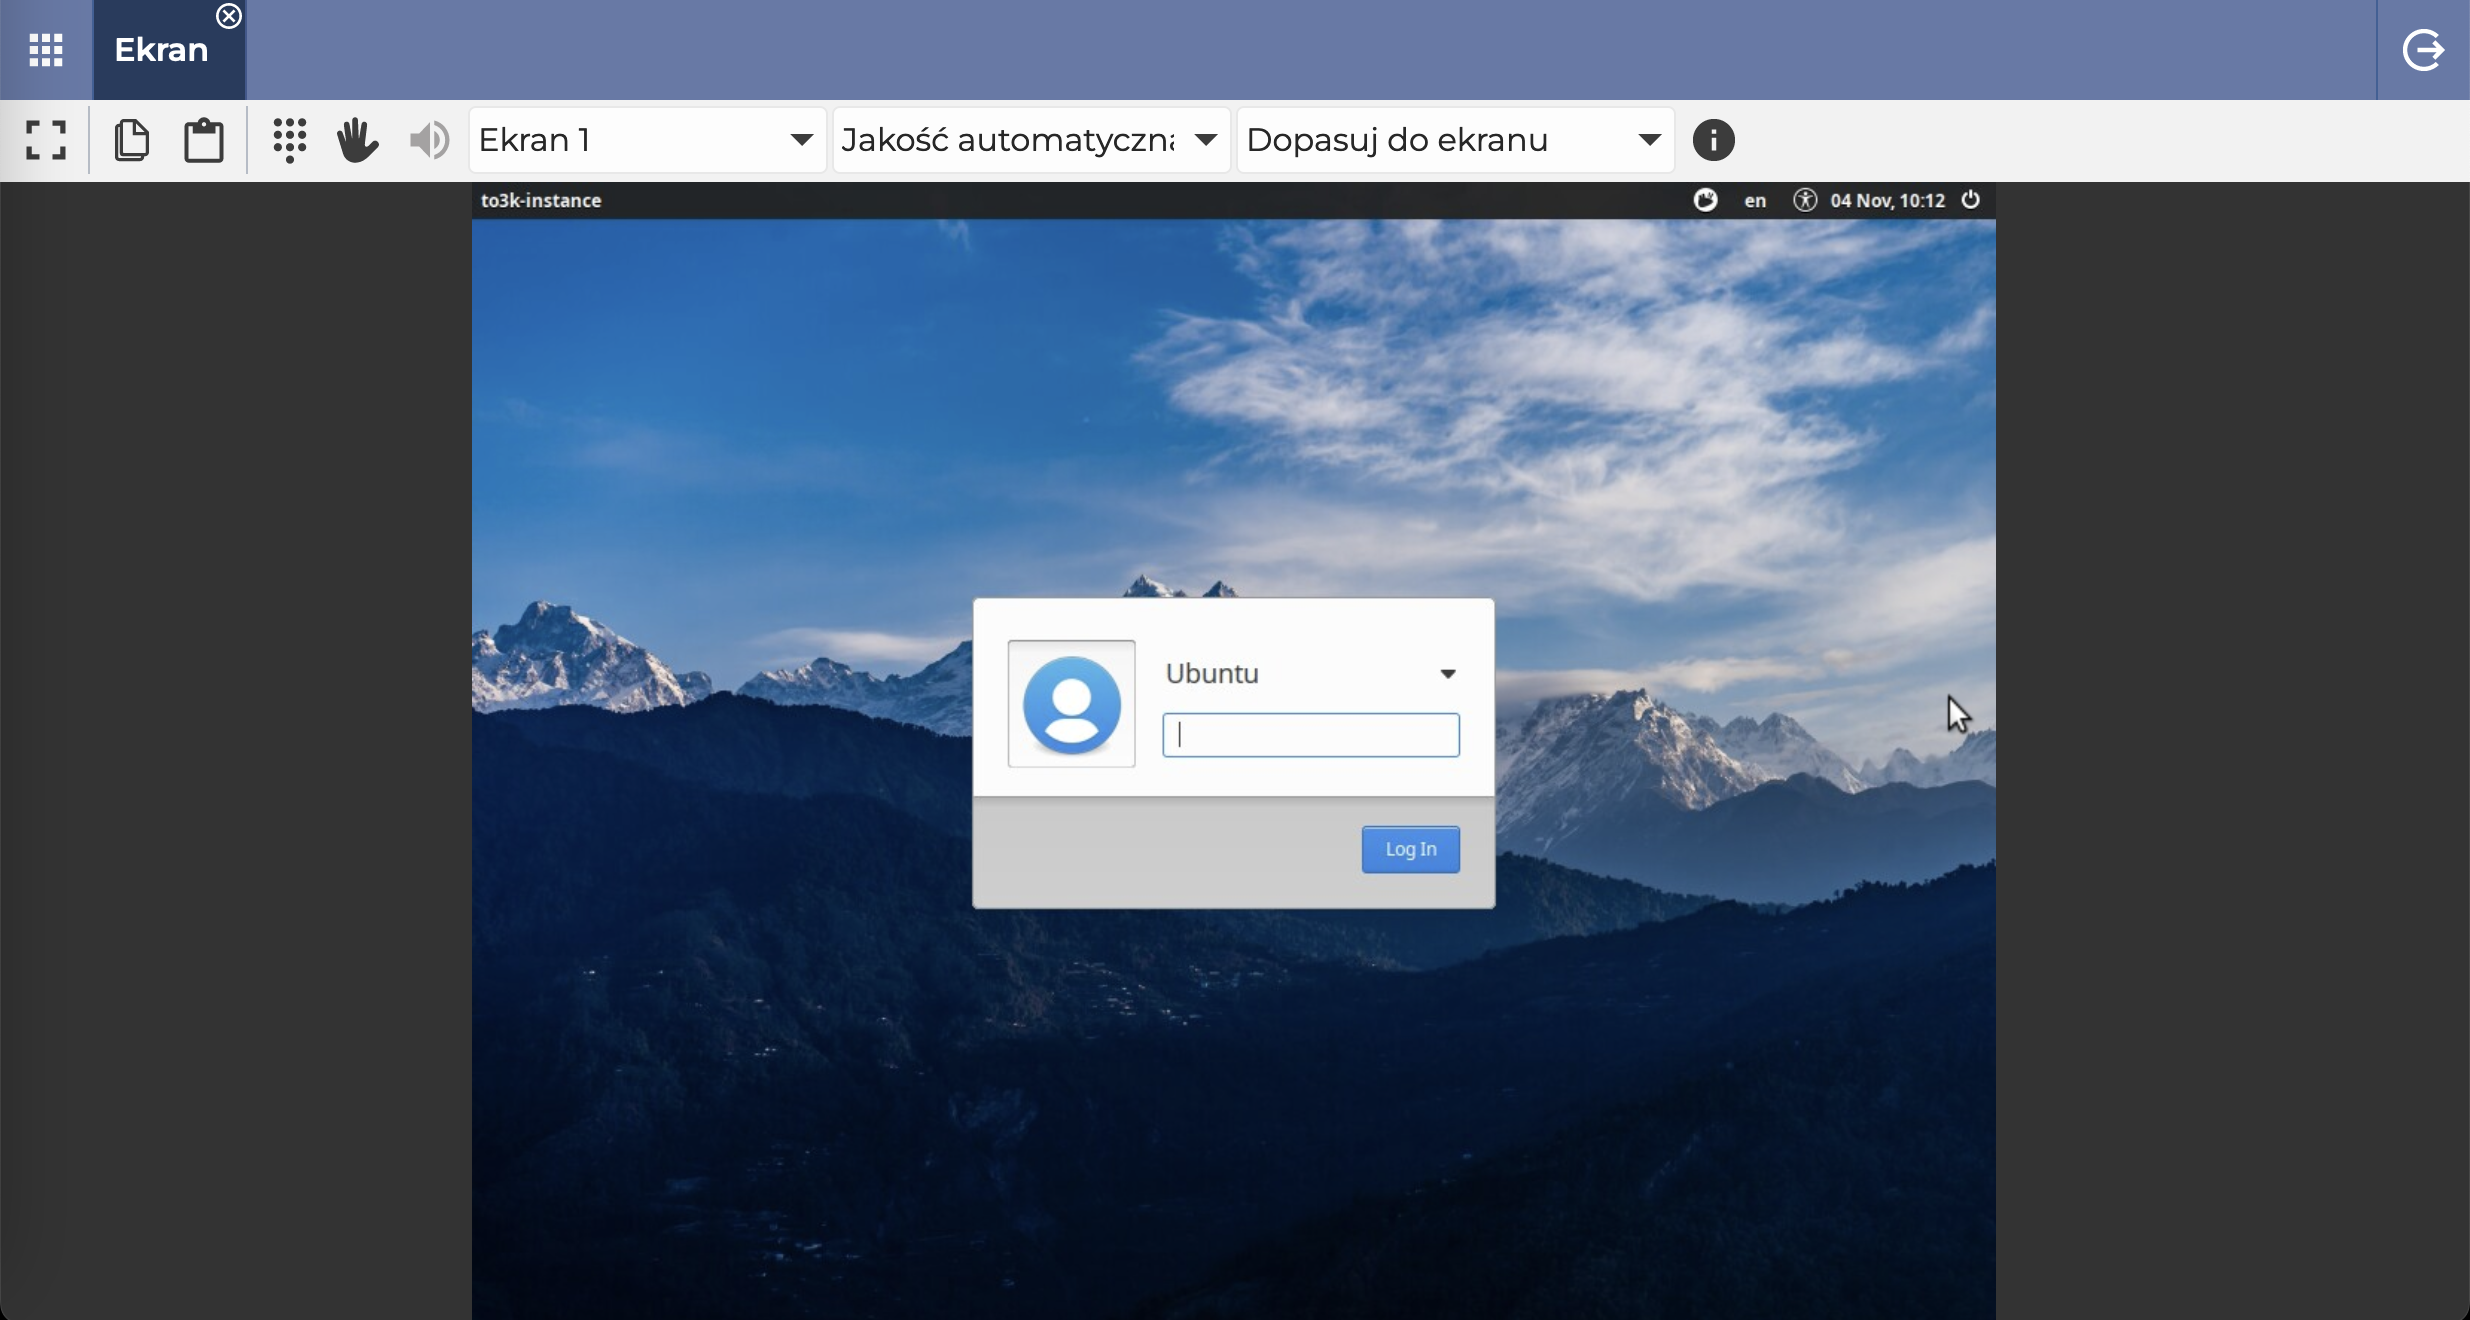
We have a VPS with a graphical interface installed, just waiting for us to connect to it. There are many ways to do this. You can use solutions like Team Viewer, AnyDesk, or any program based on the VNC protocol, or even RDP (Microsoft Remote Desktop). However, in the title and introduction of this post, I promised that it would be a solution that only requires a web browser to work. The solution is DWService and I described it earlier in one of the posts. I won’t repeat how to create an account in this service, install the agent, or connect to it because I’ve already described all of that in the linked post above.
Result
The result of these actions is having a computer that:
- is a free VPS from Oracle,
- runs 24/7,
- doesn’t consume our home electricity,
- is accessible from any computer with internet access and a web browser,
- has strong specification that allows for normal work and multitasking,
- has a full-fledged operating system (Linux) installed,
- can also be used as a server to run background services/tools,
- is secure because, on one hand, it’s protected by Oracle, and on the other hand, we connect to it using a tool that doesn’t require opening any additional ports to the world and can be secured with two-factor authentication, and communication with it is over HTTPS,
- has 200GB of data storage available.
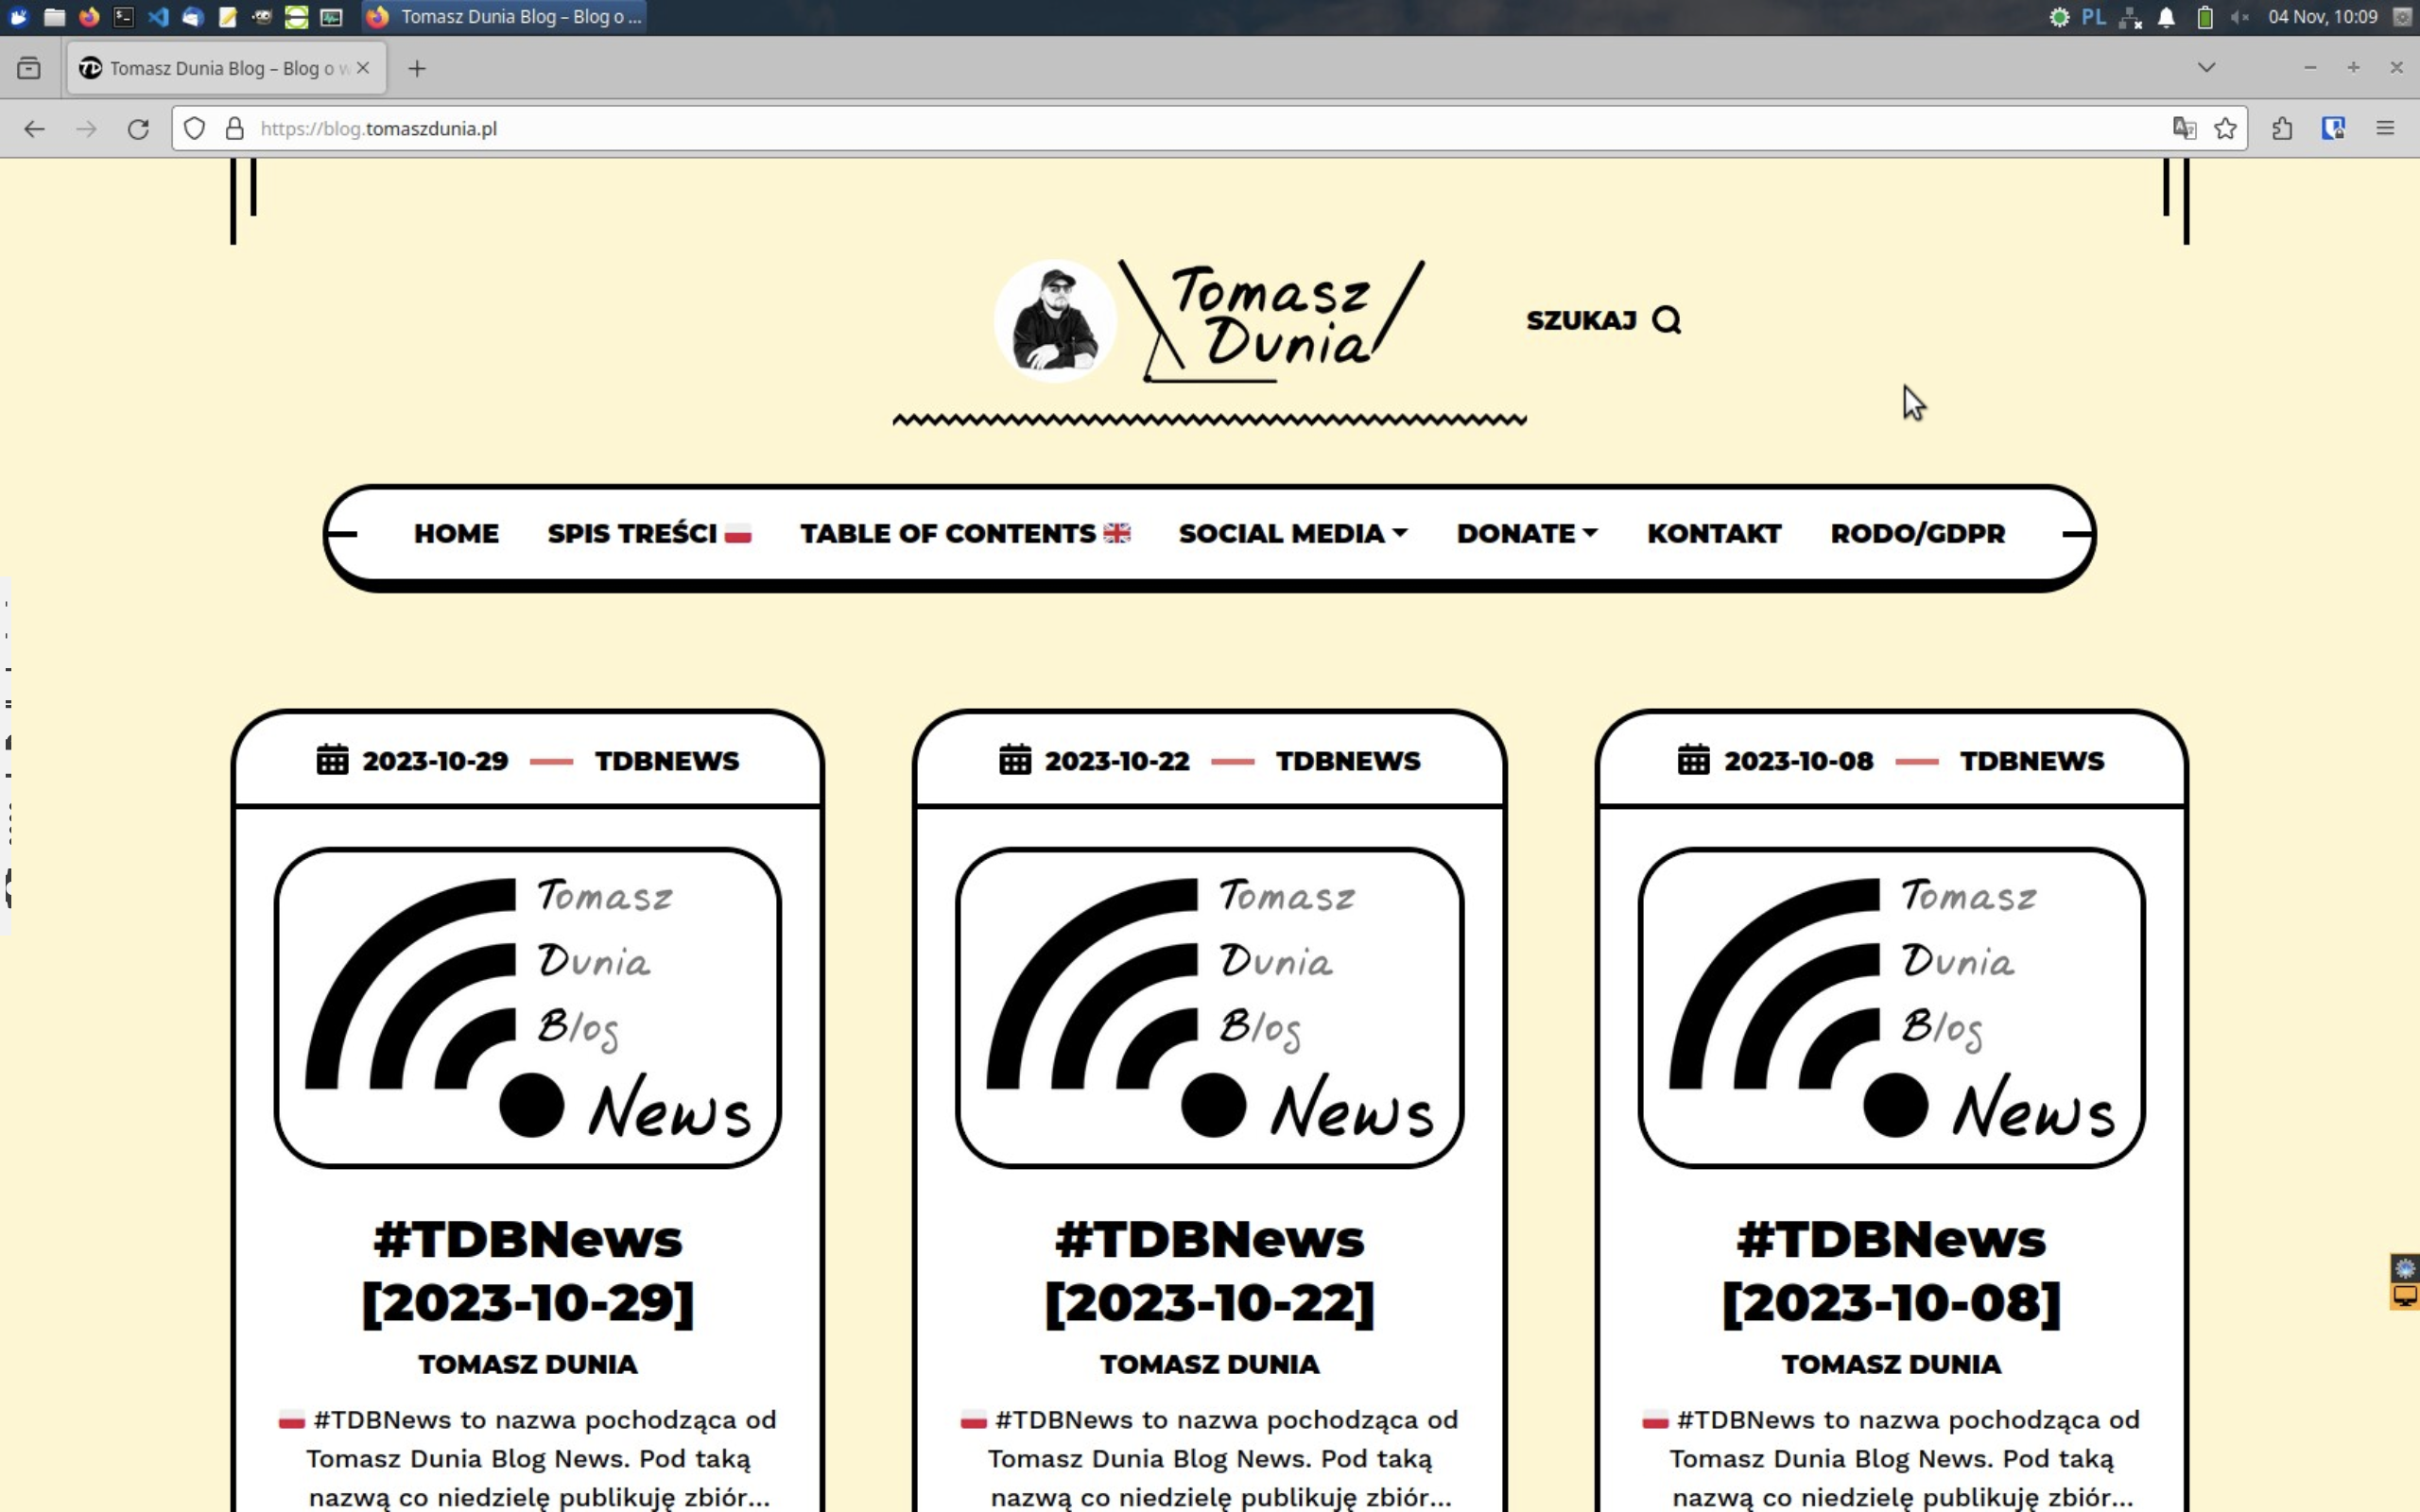
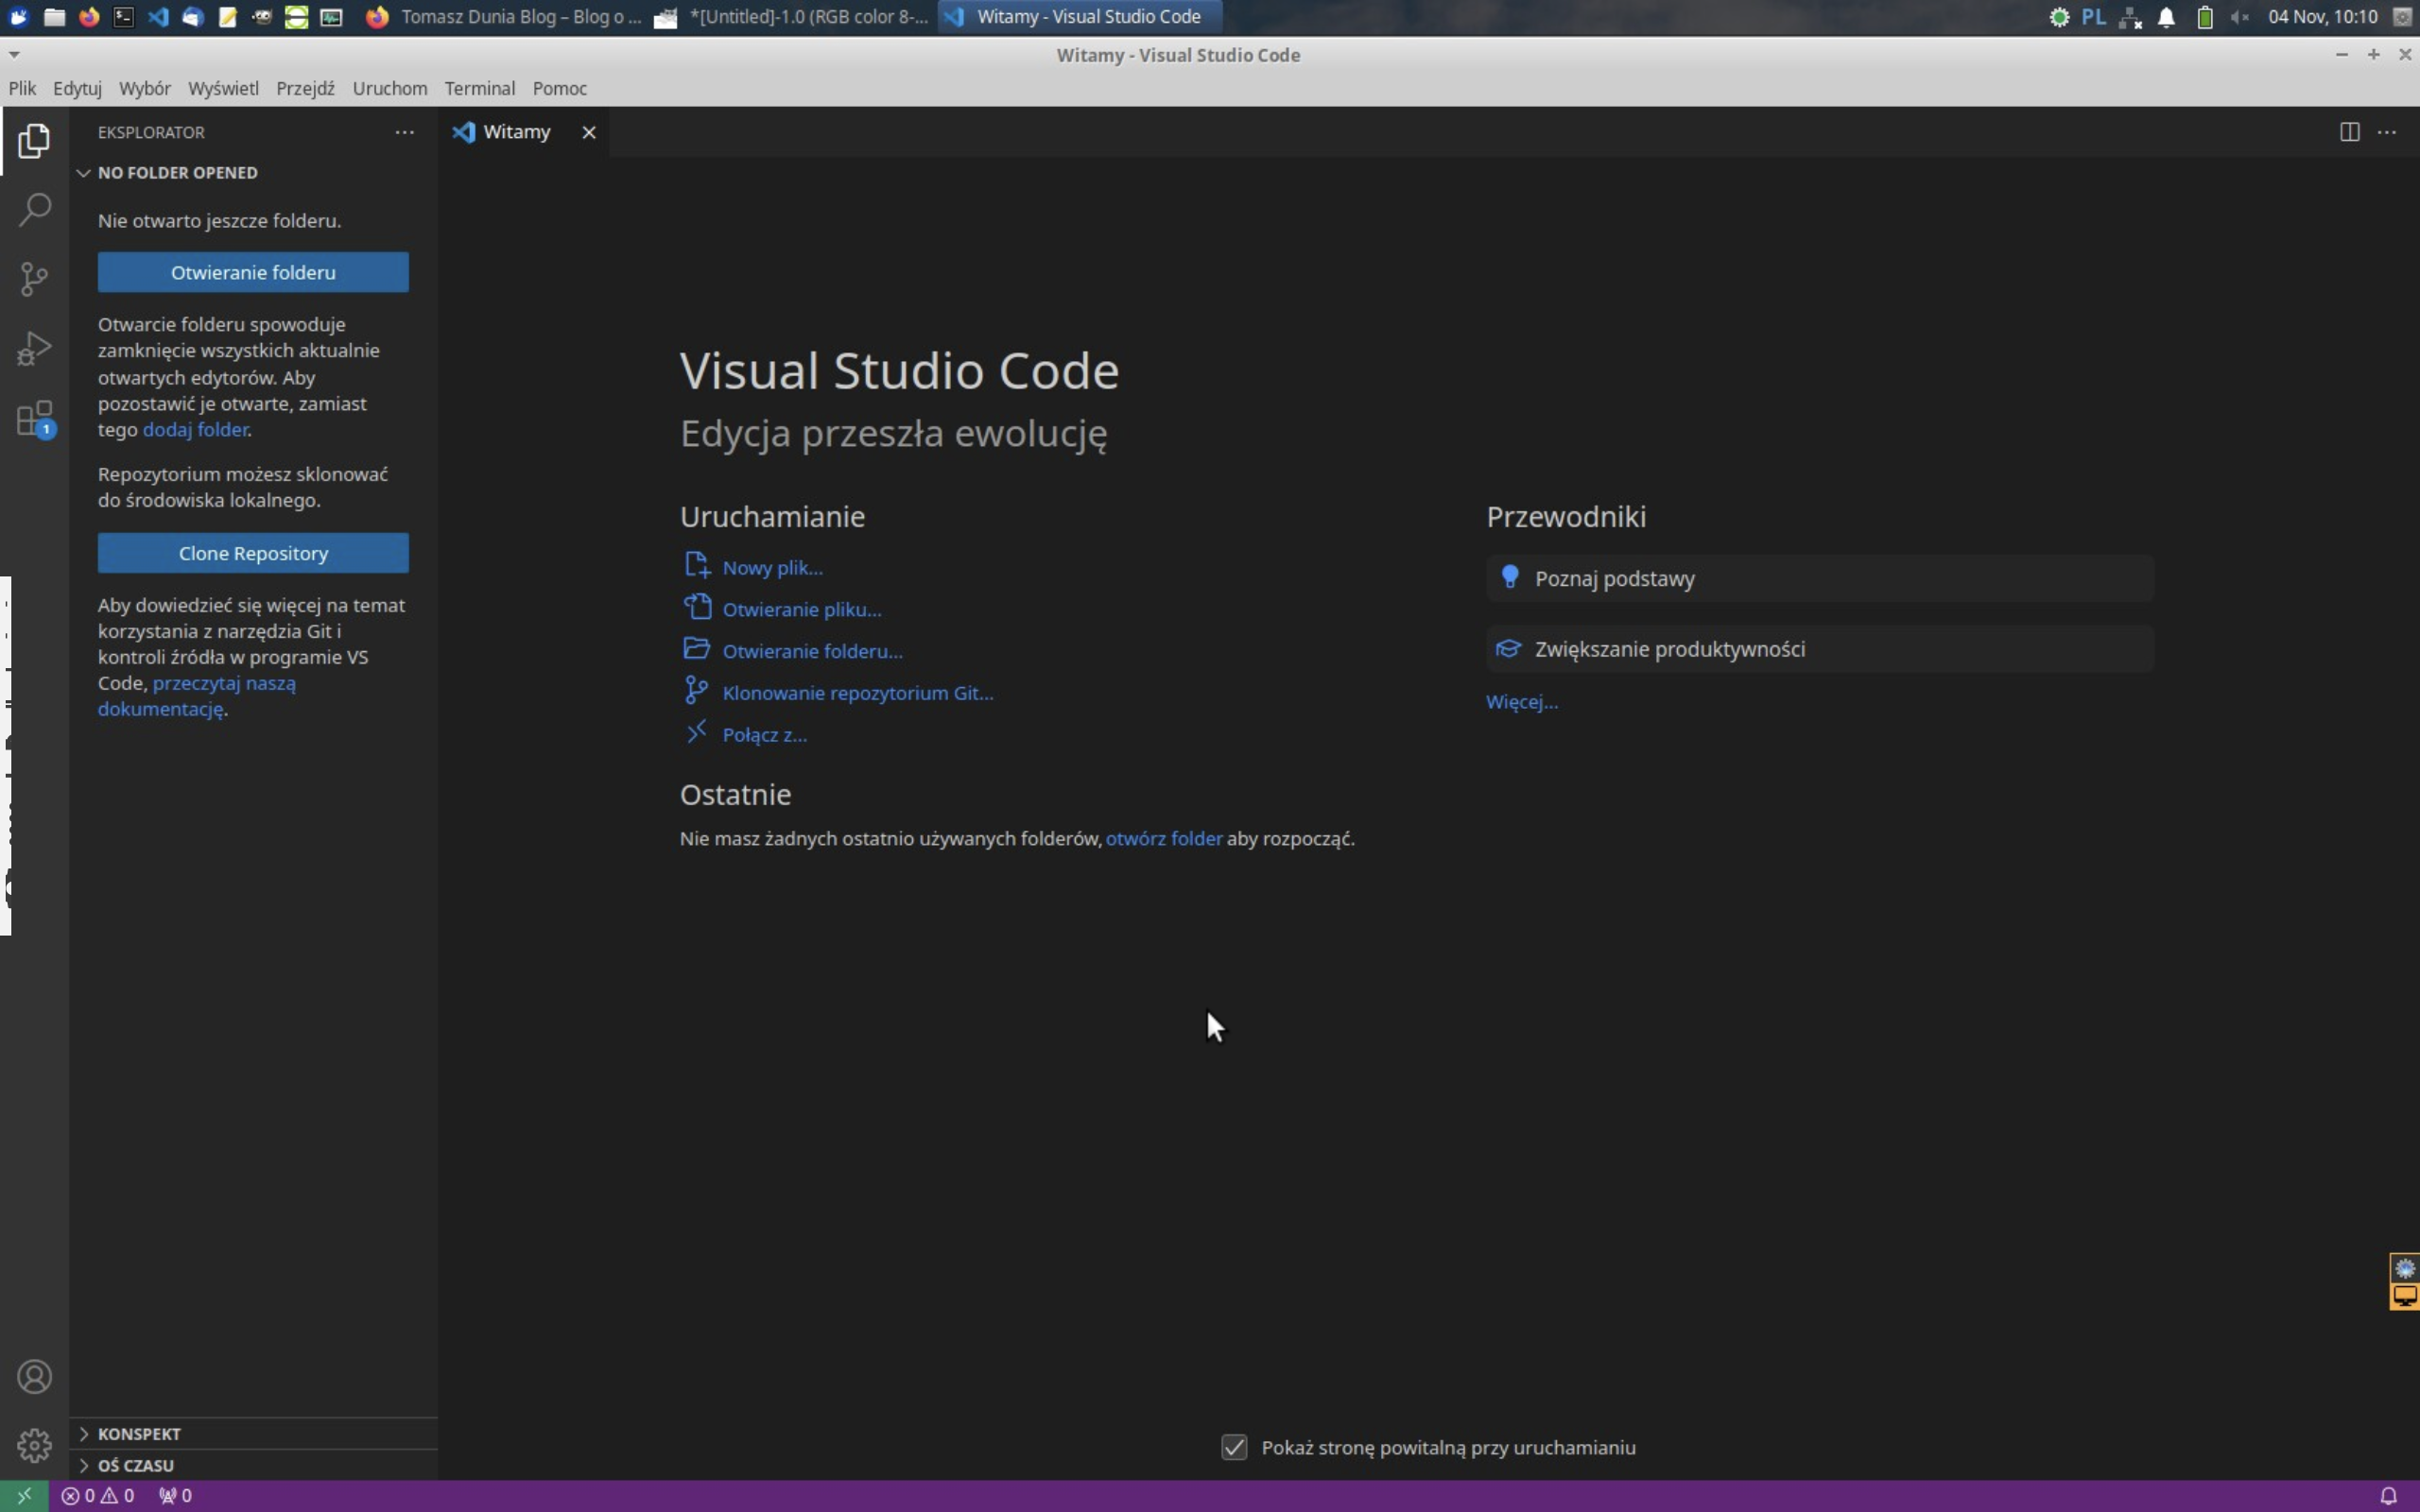
What more could you want? Take a look at how it looks in practice in the screenshots that I took myself for the purpose of this post.
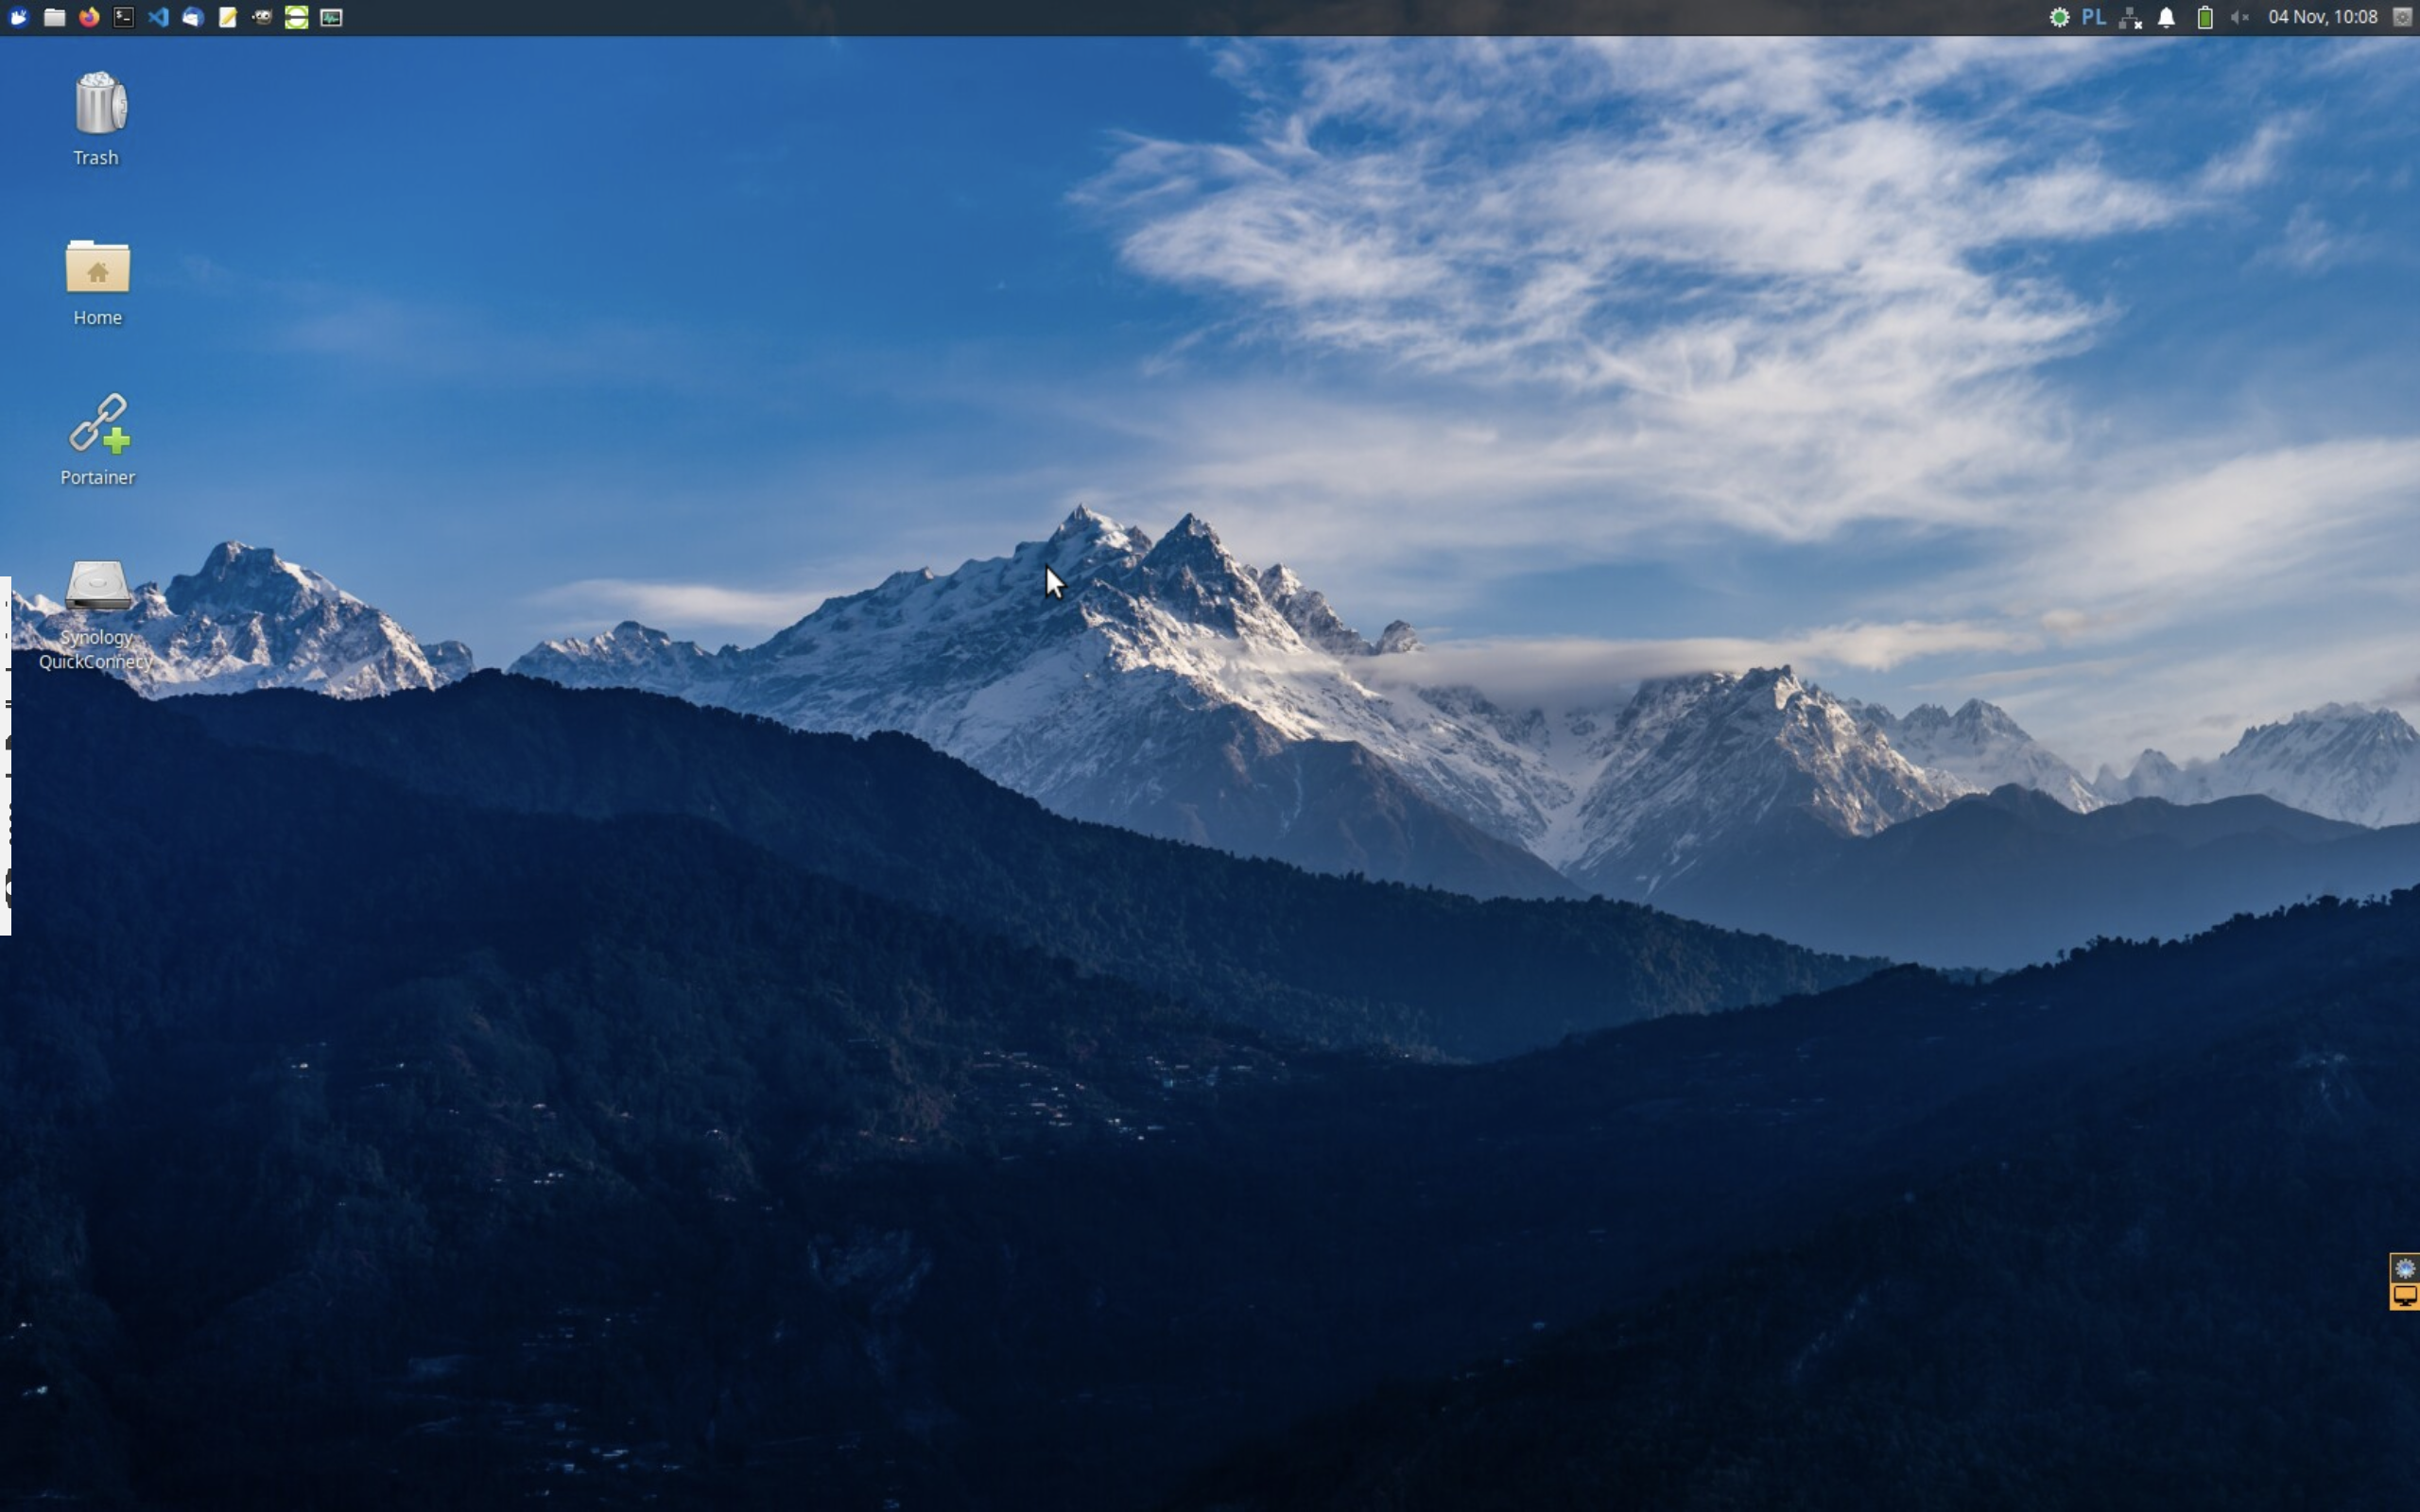

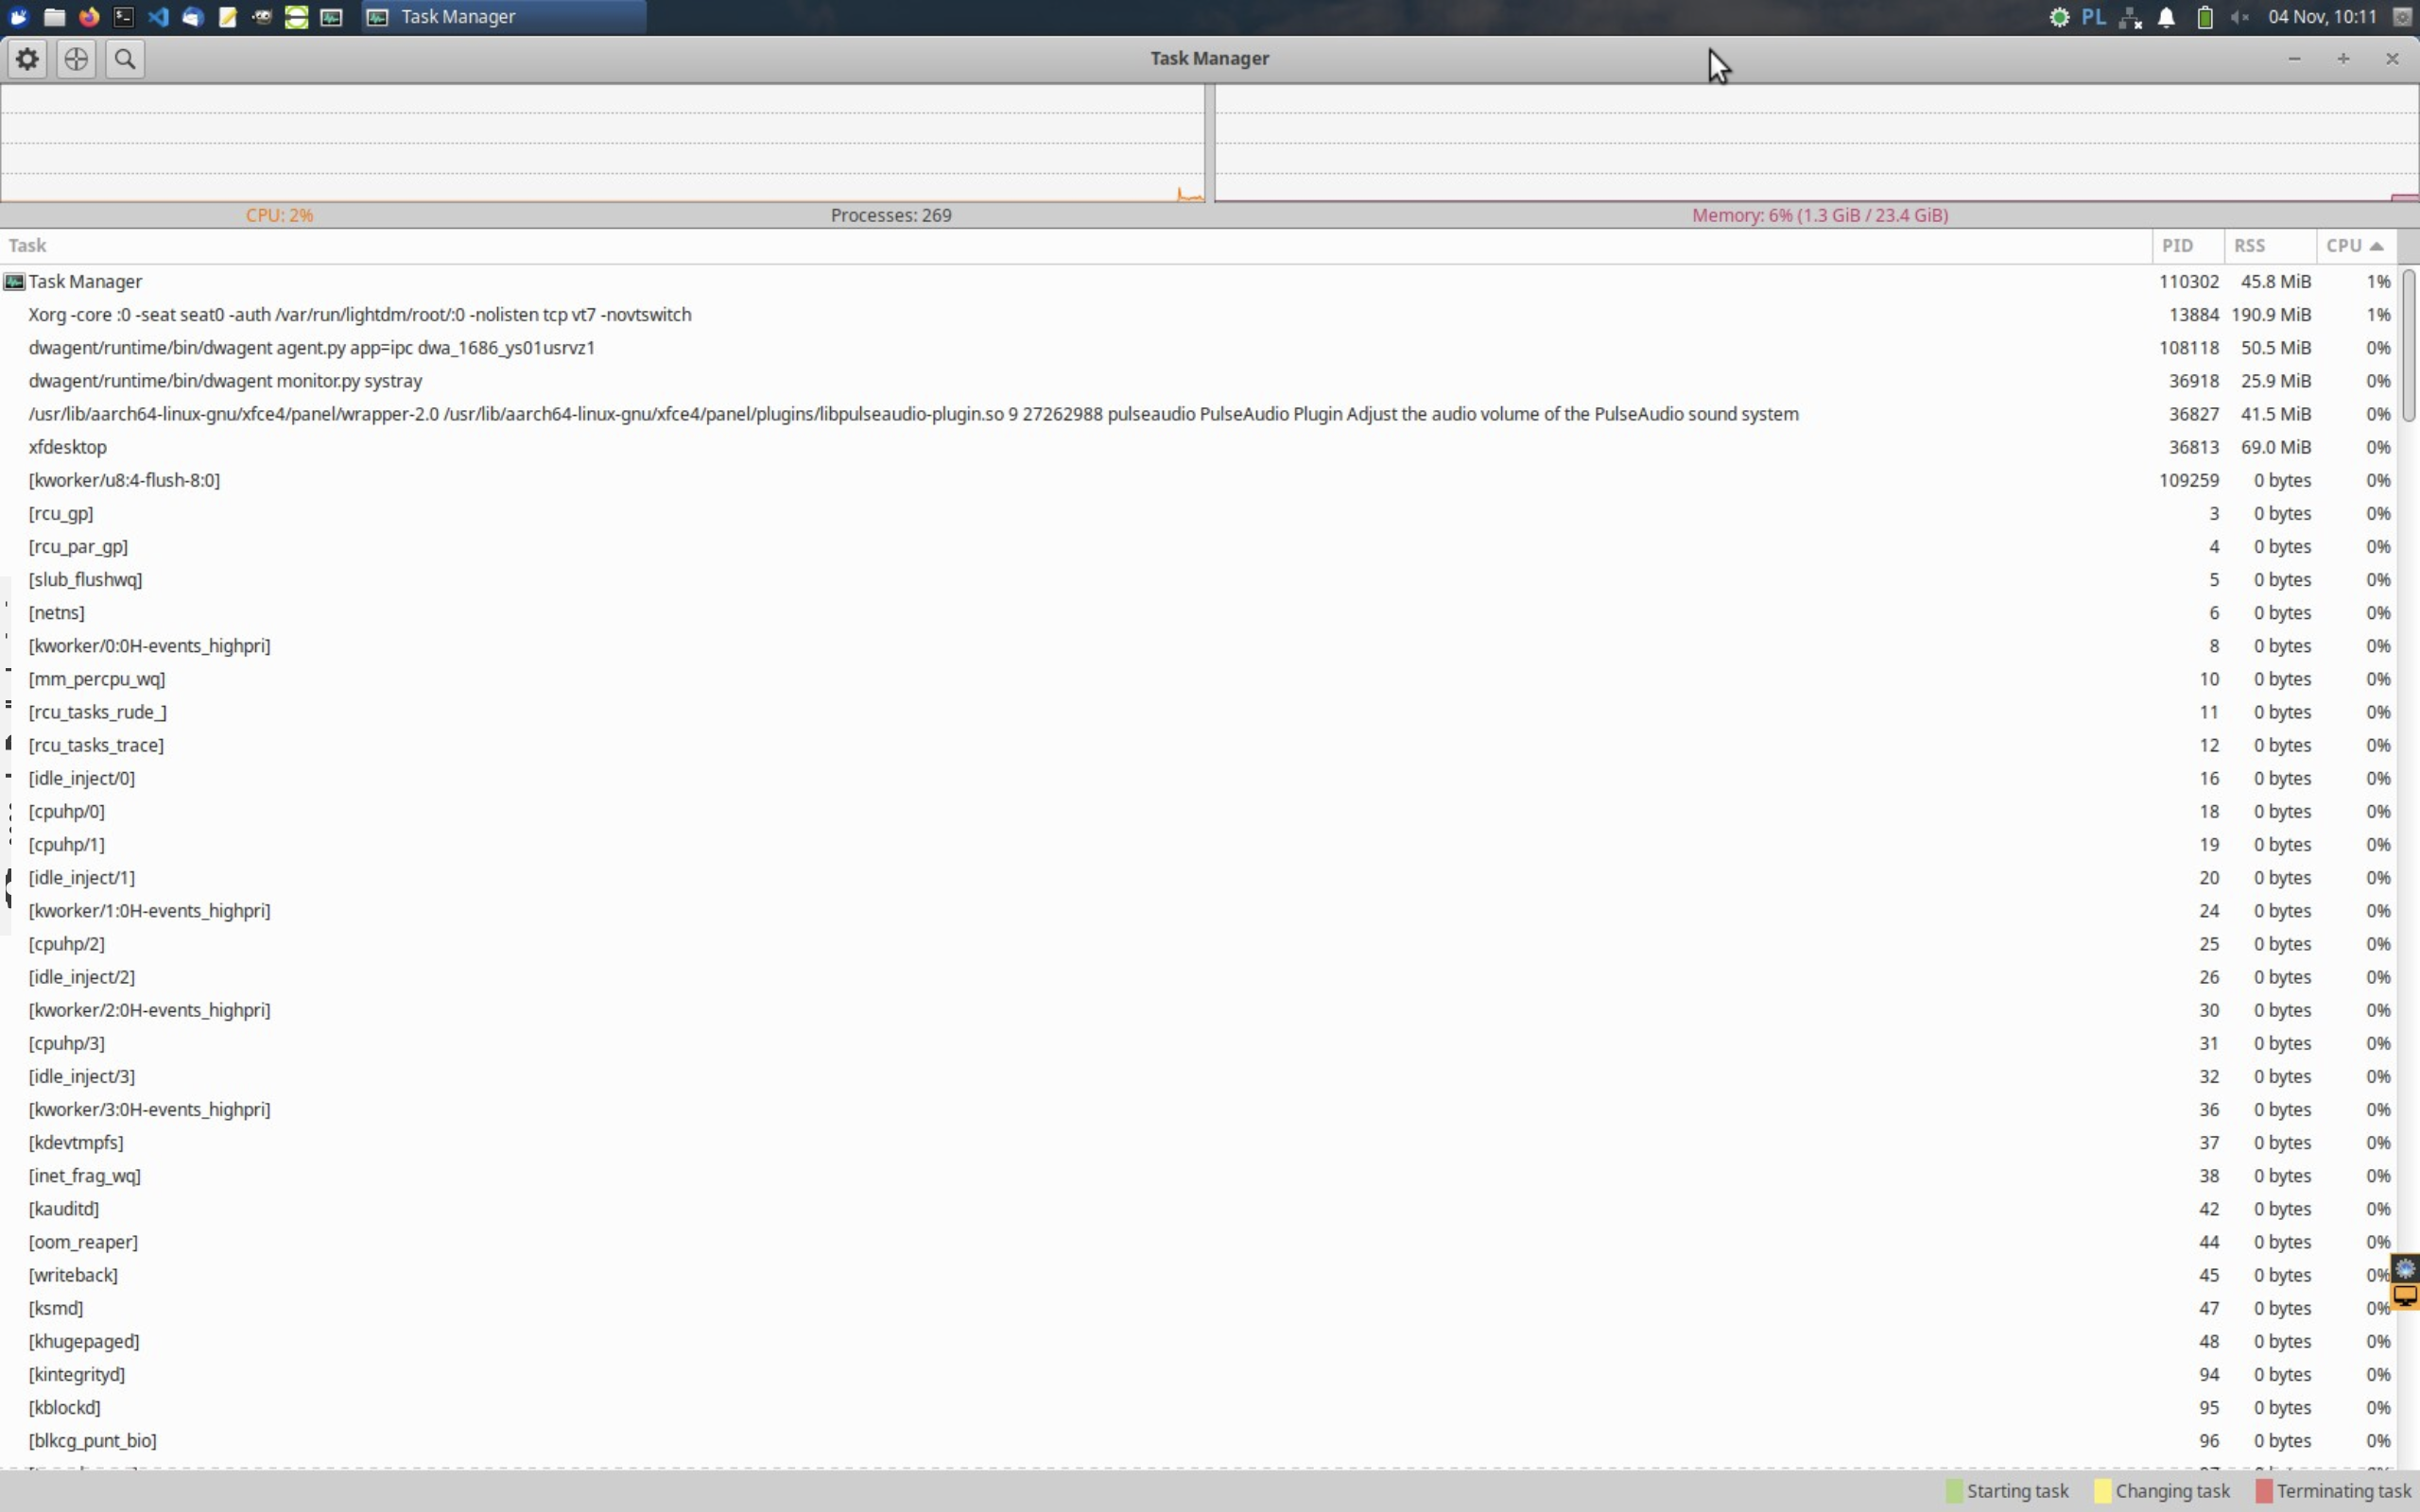
To confirm that XFCE is a very resource-efficient desktop environment, I also have a screenshot from the task manager showing the current resource usage. In the idle mode (the machine is on and not doing anything extraordinary other than basic tasks), CPU usage was calculated at 2%, and the RAM memory usage at 1.3GB out of 24GB (6%). The remaining resource surplus can be used to run whatever you need or feel like running.
If you liked this post then you can support me!