The new member of the Raspberry Pi family is now available and shipping into eager maker’s hands! With faster, more capable USB ports, USB boot on the Raspberry Pi 5 is a great option if you have a disk lying around (perhaps from an upgrade to your PC!) that you can repurpose.
If you’re on the fence, or not sure what you’re new Raspberry Pi 5 can do vs the Raspberry Pi 4 and other boards available at the moment, check out my Raspberry Pi 5 Review.
Step 1: Prepare your USB boot drive
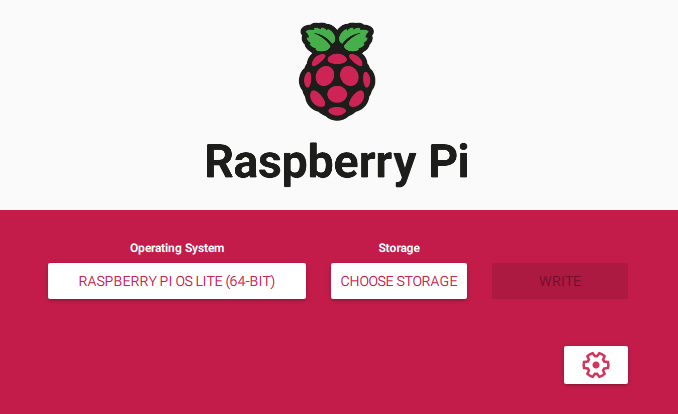
The quickest and easiest way to get a Raspberry Pi image onto your disk is going to be to use the Raspberry Pi Imager which will enable you to choose the specific image, download it, and write it to your chosen disk. Simply select your chosen Operating System and the correct (double-check!) storage device and press write.
The neat thing about this over something like balenaEtcher is that you’re going to be able to hit the settings button (in the bottom right of the UI shown in the screenshot below) and configure your hostname, SSH preferences, usernames, passwords, WiFi connection details, etc and they’ll all be copied across and enabled for use on first boot!
Step 2: Prepare your Raspberry Pi 5 to boot from USB
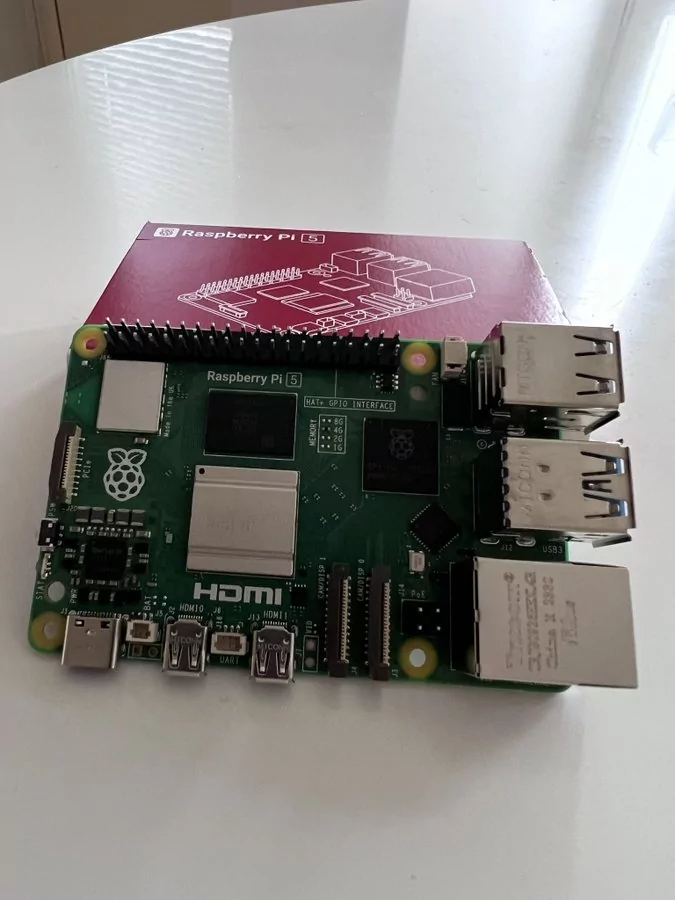
By default, the Raspberry Pi 5 will boot from a microSD card if one is in the slot so make sure that you only have your USB device attached (and in a USB 3 port if it’s a USB 3 device, they’re the 2 blue ones.) Having said that though, you can use the Raspberry Pi Imager tool in the “Misc utility images -> Raspberry Pi 5 family” section to change the default. This can also be changed once you’ve booted for the first time too within the OS if you prefer.

Step 3: Successfully* USB Boot on the Raspberry Pi 5
The final step here will be to connect your USB drive and plug in a power source. It’s extremely important with the new Pi 5 that you have a powerful enough power supply as if you don’t have at least a 5V 5A power supply, your USB ports will be limited to 600mA. You can, however, override this in raspi-config if you wish. I had a 5V 4A power supply that I tested with this and there was no issue.
All being well, your device will now boot directly from the USB drive that you prepared earlier and you can enjoy your latest toy in all its glory.
If you get stuck, reach out to me on Twitter or Mastodon, or leave a comment and I’ll see if I can point you in the right direction!
UPDATE: 2023-11-17
Thanks to the people who took the time to leave a comment or reach out on social media regarding the misunderstanding in the post. I’d half-written it with the Raspberry Pi 4 previously and then adapted it to my first experiences with the Raspberry Pi 5. At the time, I hadn’t realised that I had the wrong cable plugged into the Pi 5 (my desk is cable spaghetti central) and it was only feeding 2.4A and failed to boot. Apologies to any confusion caused by the original post, this has now been amended to be less confusing and point out that nothing in particular is required.